.png)
Add Custom Fields to Your Booking Widget
PracticeQ allows you to collect additional information when your client books online. You can do this by adding custom fields to your booking widget.
- Click Bookings → Booking Settings.
- Select the Settings tab.
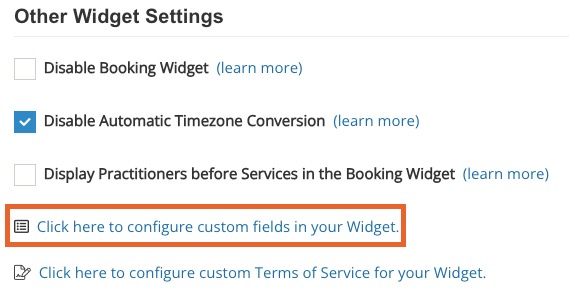
- Scroll down to Other Widget Settings and click the Click here to configure custom fields in your Widget link.
- Click + Add New Field.
- Give your field a Name.
- Choose if you want your field to map to the client profile. If so, select the mapping field from the Mapping dropdown.

- In the Field Type dropdown, select the kind of information being asked. One useful option is File Upload. This enables file attachments during the booking process, allowing clients to upload documents such as a driver's license or insurance card.
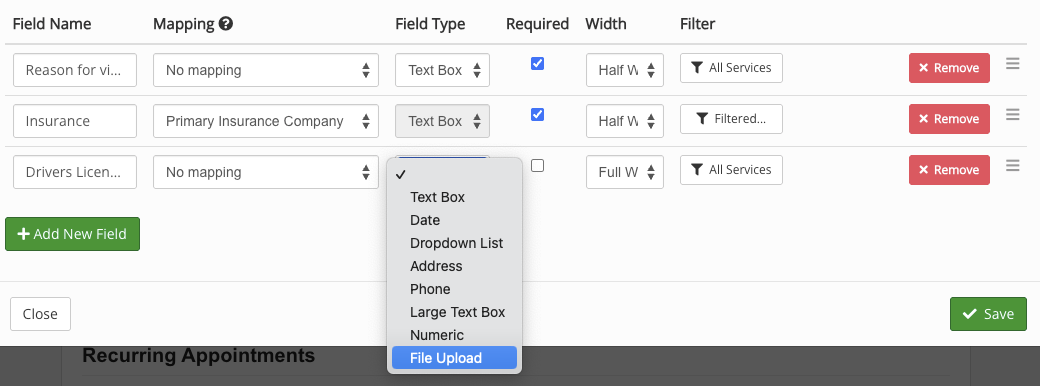
- The Filter setting allows you to show a field when booking specific services only.
- Check the box labeled Show Custom Fields to new clients only if you want your custom fields to display for new clients only. Note: Existing clients will sometimes book an appointment without logging in with their email; in this case, the custom fields will show up, regardless of this setting.


See below how the fields appear in the booking widget.
Note: The custom fields are added after the standard Appointment Booking Information, on the next page.

