.png)
Set Up Recurring Payments
PracticeQ allows you to set up recurring payment plans that will charge client credit cards at predetermined intervals.
- Recurring Payment Plans cannot be removed or edited; they can only be canceled and restarted after cancellation.
- If you need to make changes to a client's payment plan, please cancel the original plan and start a new one.
- If you archive a client, their recurring payment plan will continue. Please cancel the plan when archiving the client.
Create a Payment Plan Template
Before you can add a client to a recurring payment plan, you must create a generic plan template.
- Click Lists → Recurring Payments → Recurring Payment Settings.
- Select the Payment Plans tab.
- Click Add New Plan.Give the plan a Name, select a Payment Frequency, Number of Intervals, and the Price per Interval. (The amount that should be charged on each cycle.)
Note: If you click Add custom price for interval 1, you will be able to charge a different amount for the first period. Once you do that, the system will allow you to set a custom price for period 2 and so on, giving you the ability to have a different amount for each period.

In the example above, the system will charge $250 for the first month and $100 for all subsequent months.
Manually Add a Client to a Payment Plan
Once your plans have been created, you can easily add a client to a plan.
- Click Lists → Clients.
- Locate the client and select the Plans tab.
- Click Add Payment Plan.
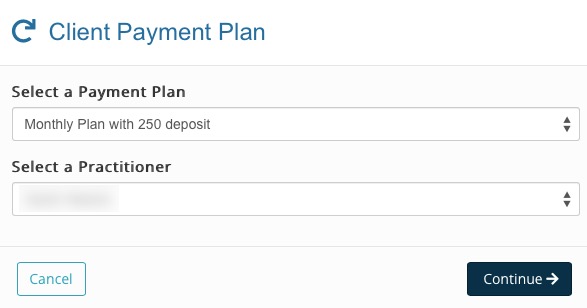
- Select a Payment Plan and a Practitioner.
- Click Continue.
- The following screen will show you the payment plan settings; enter the Start Date.
- Click Customize if you need to change any of the plan parameters, allowing you to create a personalized plan for the client.
- If the Start Date is set to today, PracticeQ will make the first charge a few minutes after the plan has been created.

At any time, you can click on a recurring payment plan and PracticeQ will show you an overview of the plan. This includes the plan parameters, events related to the plan, a list of associated invoices, and the next billing date.
If you wish to set up a client for recurring payments without scheduling an appointment, please read this article: Can Clients Sign up for a Service Without Creating Appointments?
