.png)
Attach Files to a Client's Timeline
Easily attach files to a client's timeline, such as PDF files from another system, photos, and license pictures.
Create the Treatment Note Template
The first step of the process is to create a treatment note template that contains a file attachment question. You are free to include other questions in addition to the file attachment question.
- Click My Forms and scroll down to the Note Templates section.
- Click the Create New button.
- Enter name for your form and click Continue.
- Click the green Add New Question button in the upper right corner.
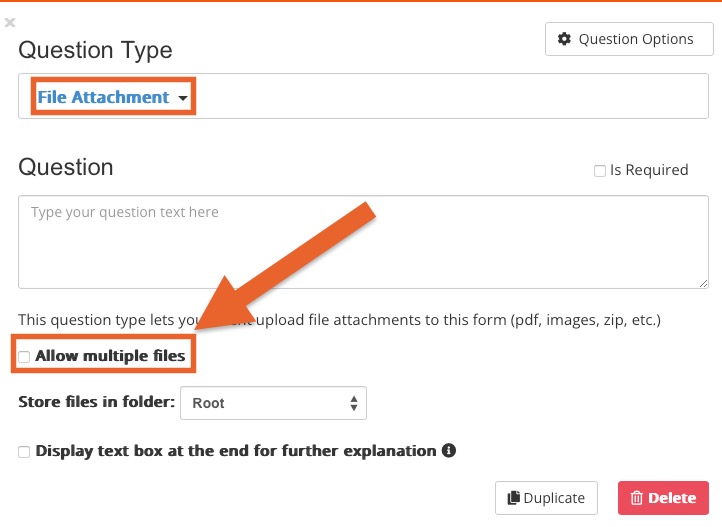
- Select File Attachment as the Question Type. This allows files to be uploaded from your device into a treatment note.
- If you want to allow for multiple file uploads in one question, check the box labeled Allow multiple files.
- When complete, add any other questions you would like and save the form.

Add the File Attachment Template to the Client Timeline
Once you create the treatment note template, add it to a client's timeline so that you can attach files directly to their record.
- Click Lists → Clients and find the client for whom you want to upload files.
- Open the client's profile.
- Click the green plus sign on the Timeline and select Create New Note.
- Select the Treatment Note you created from the dropdown menu and click Continue.
- The treatment note template will be added to the client's timeline. Click Select File to Upload.

- Once you have uploaded the necessary files, Save and Lock the treatment note.
- Once the treatment note is saved and locked, the images will appear in the note, and other file types will be accessible by clicking on them to view or download.

Need Help Creating the Treatment Note?
- If you are having issues creating the treatment note to attach files to a client's account, send us an email at hello@intakeq.com. We will gladly transfer one into your account for you at no cost.