.png)
Zapier Integration
Note 1: Our communication with Zapier is encrypted; but Zapier does not fall under our HIPAA Business Associate Agreement. It's up to your organization to determine if their Privacy and Security Policies meet your compliance requirements.
Note 2: The Zapier Integration has to be connected by the admin account and applies to all practitioners. It is not currently available for non-admin practitioner accounts to enable individually.
Our Zapier integration allows you to connect IntakeQ with more than 1,500 other apps to automate different aspects of your business. This automation is done by creating zaps. A zap is an automated task that you want run over and over again between two online apps. It consists of a trigger and an action: when this happens (Trigger), do something (Action).
Creating a Zap
Let's say we want to add clients who submit a certain form to a mailing list in MailChimp.
- Make sure you have created a Zapier account.
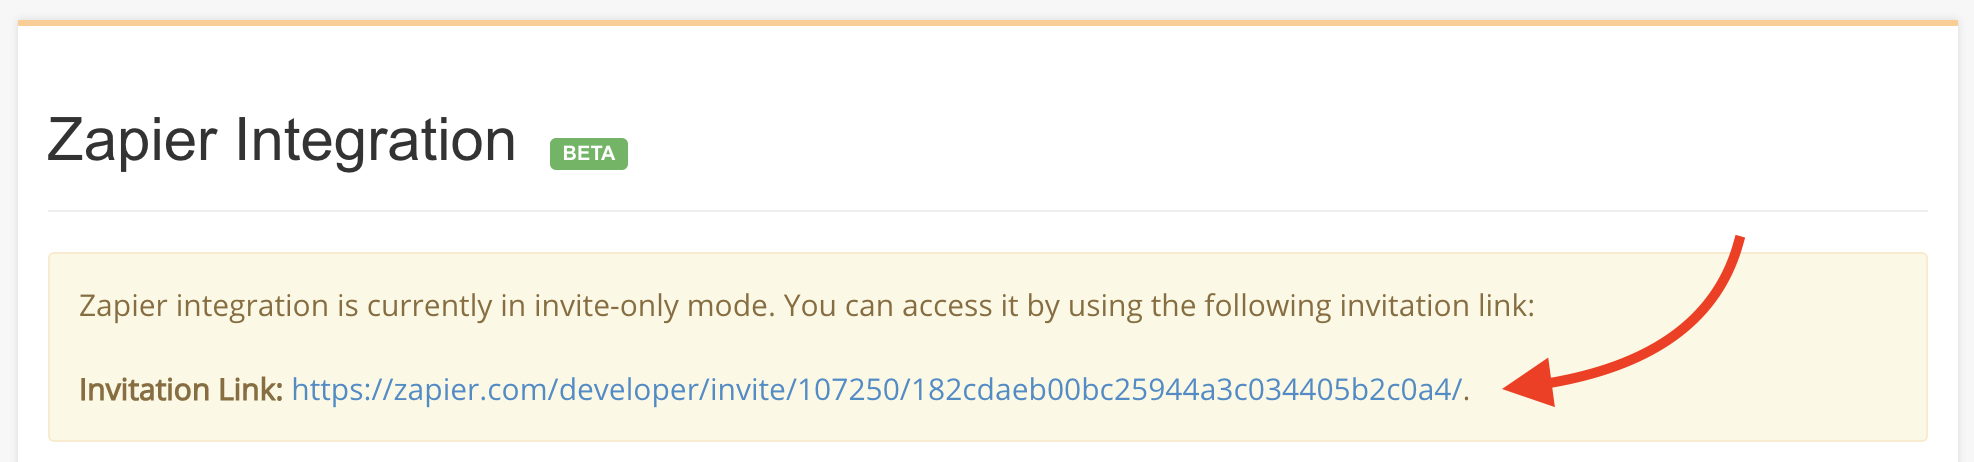
- Log into your IntakeQ account and navigate to "More > Settings > Integrations > Zapier Integration".
- Click on the invitation link provided (see screenshot below).
- If you are not logged in to Zapier, you will be asked to log in.
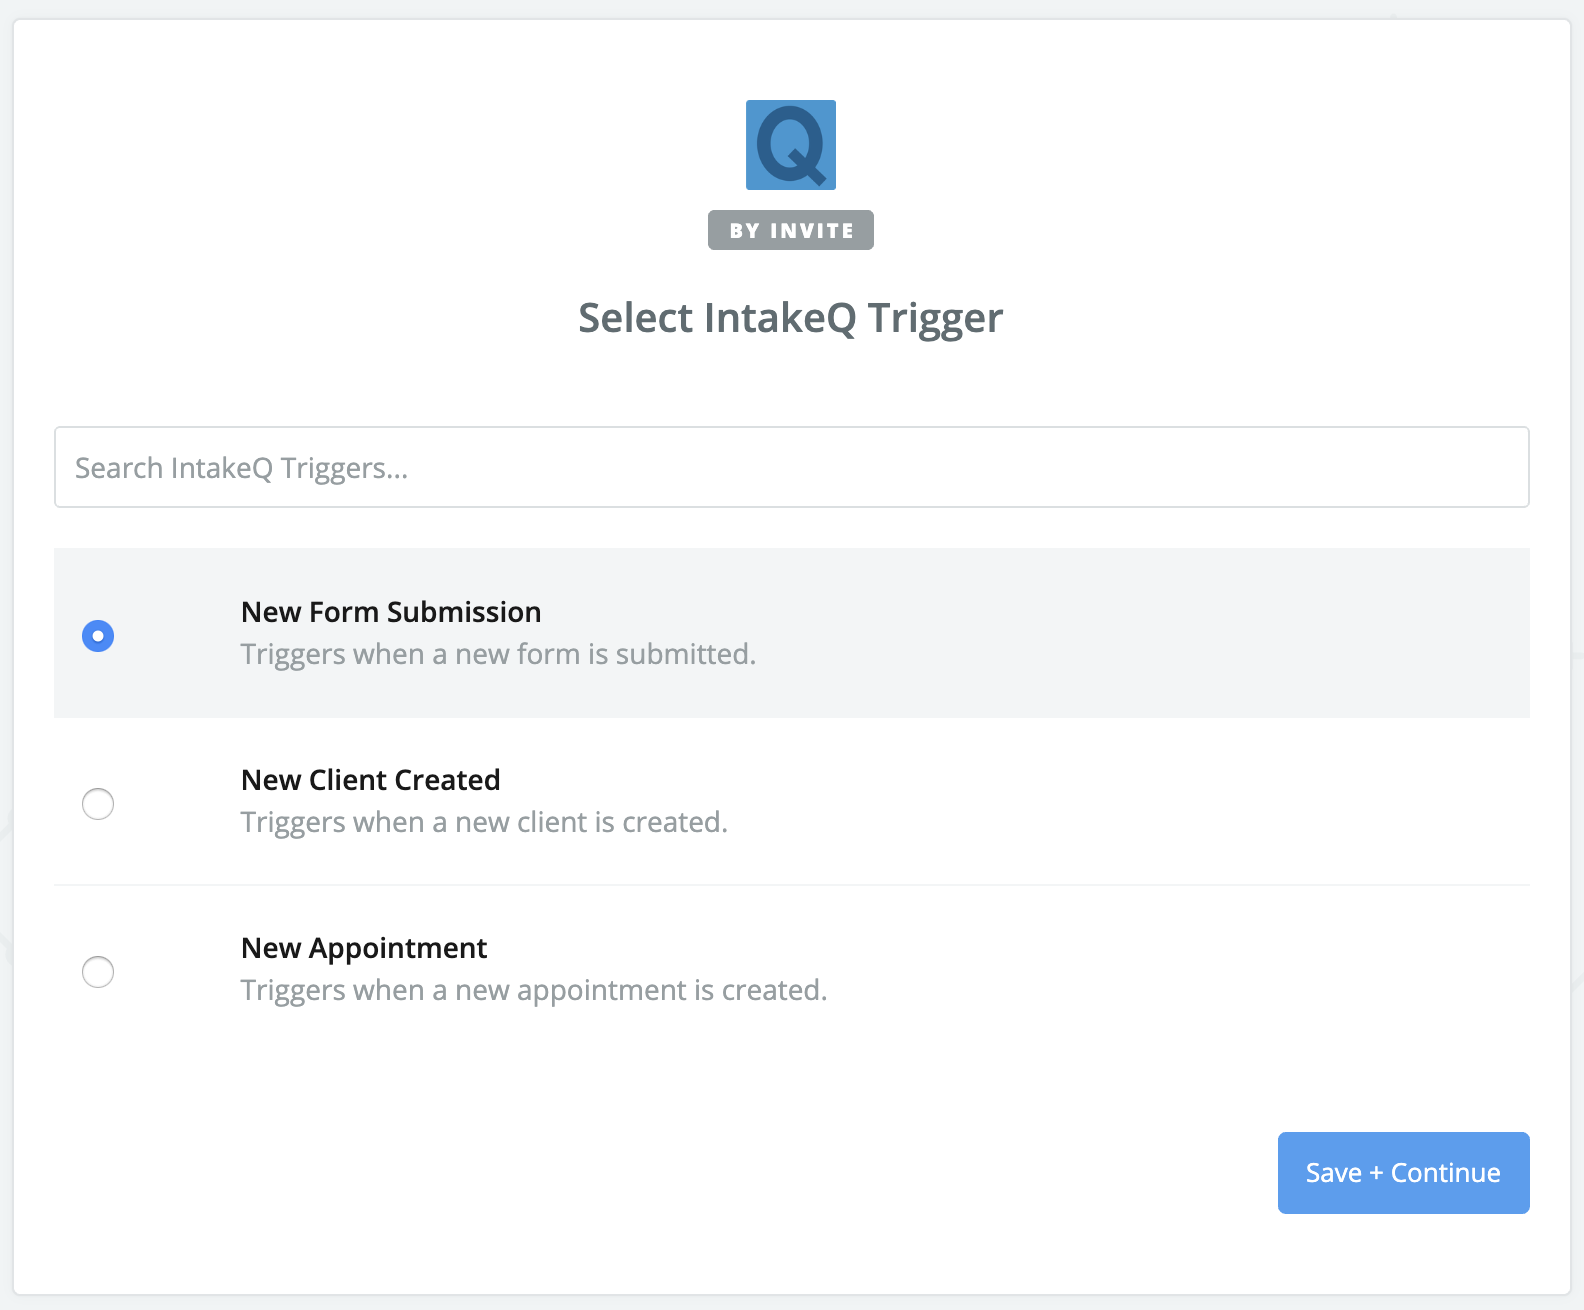
- You will then be presented with the page where you create your zap. The first step is to select which trigger to use. In our example, we will use the New Form Submission trigger.
- Once you click on Save + Continue, Zapier will ask you to connect an IntakeQ Account.
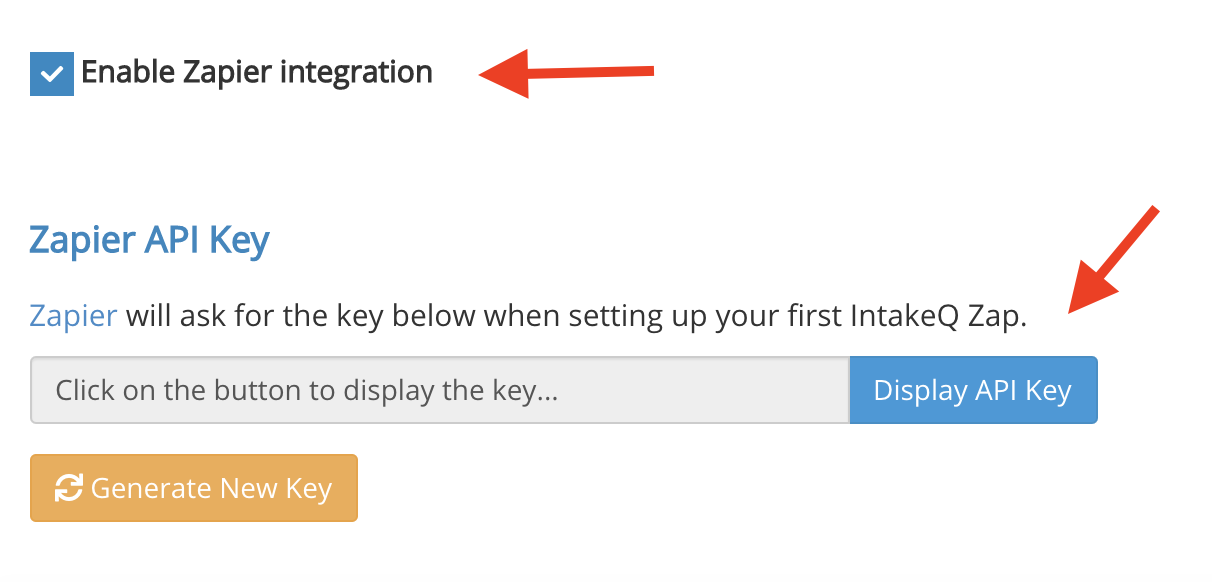
- Go back to the Zapier Integration settings in your IntakeQ account, make sure the Zapier integration box is enabled and click on "Display API Key". Copy the key and paste it on Zapier.
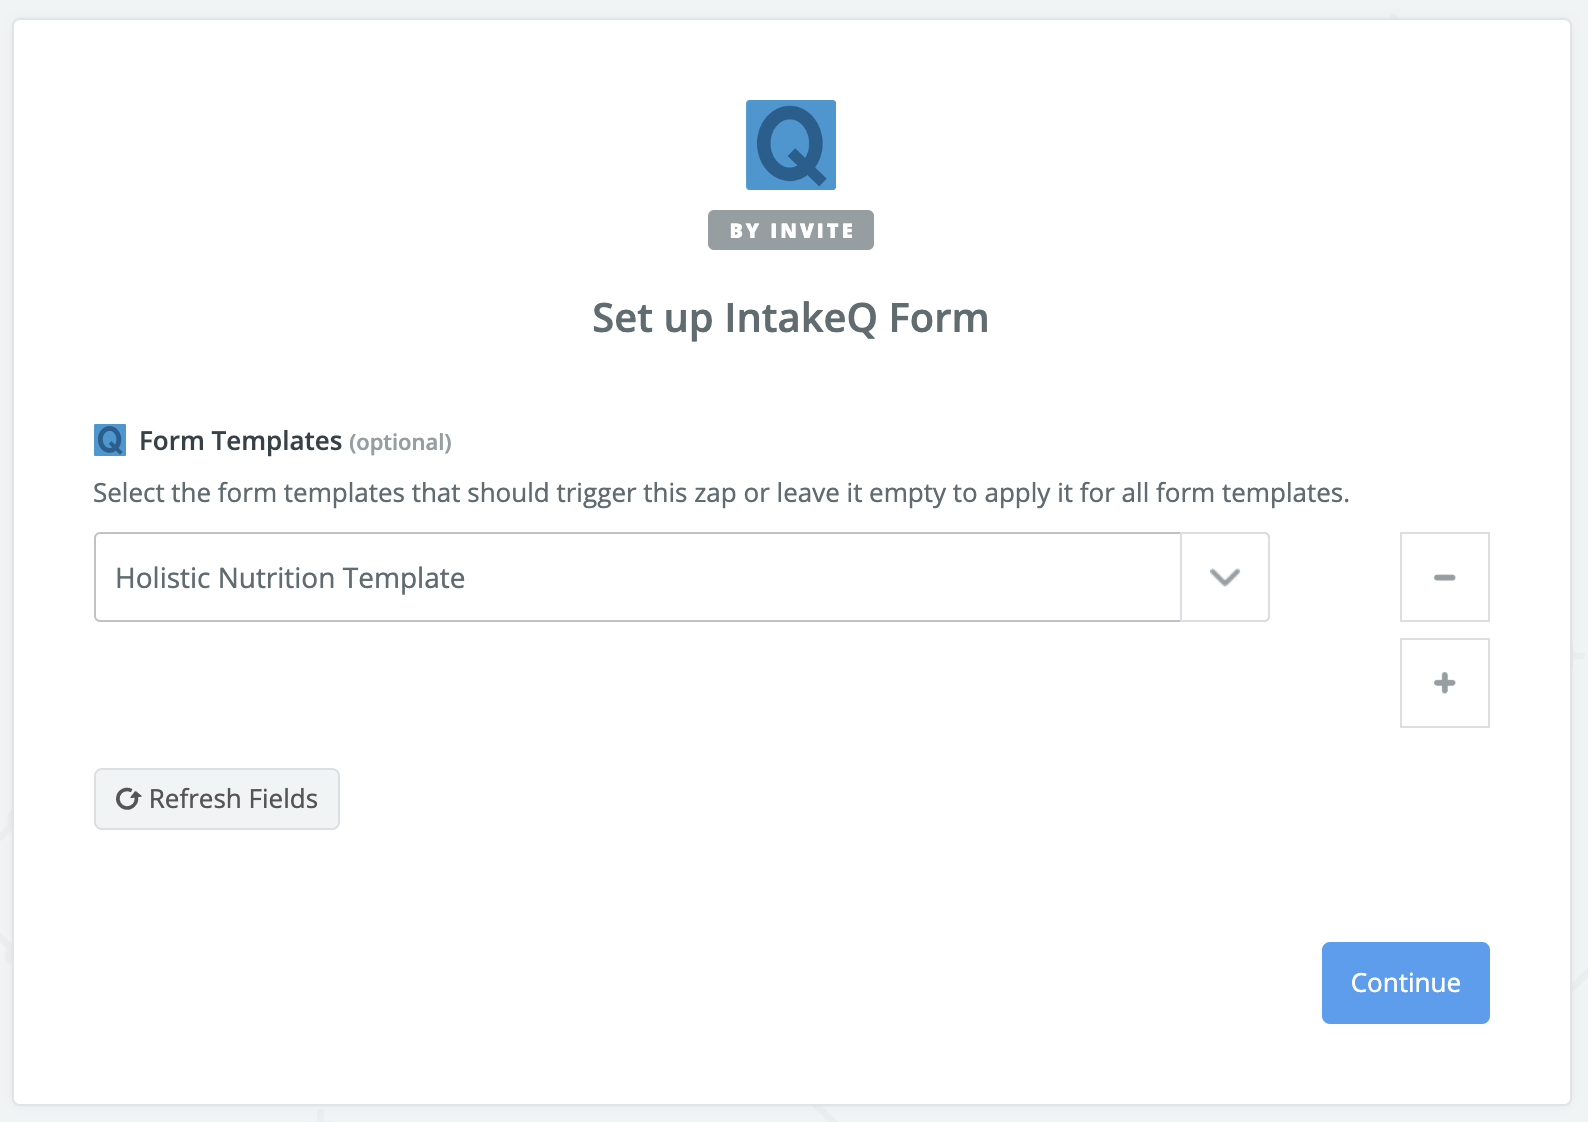
- The next step allows you to select which forms should trigger this task. You can skip it in case you want all forms to trigger it. In our example, let's say we only want clients who submit our Holistic Nutrition form to be added to a mailing list
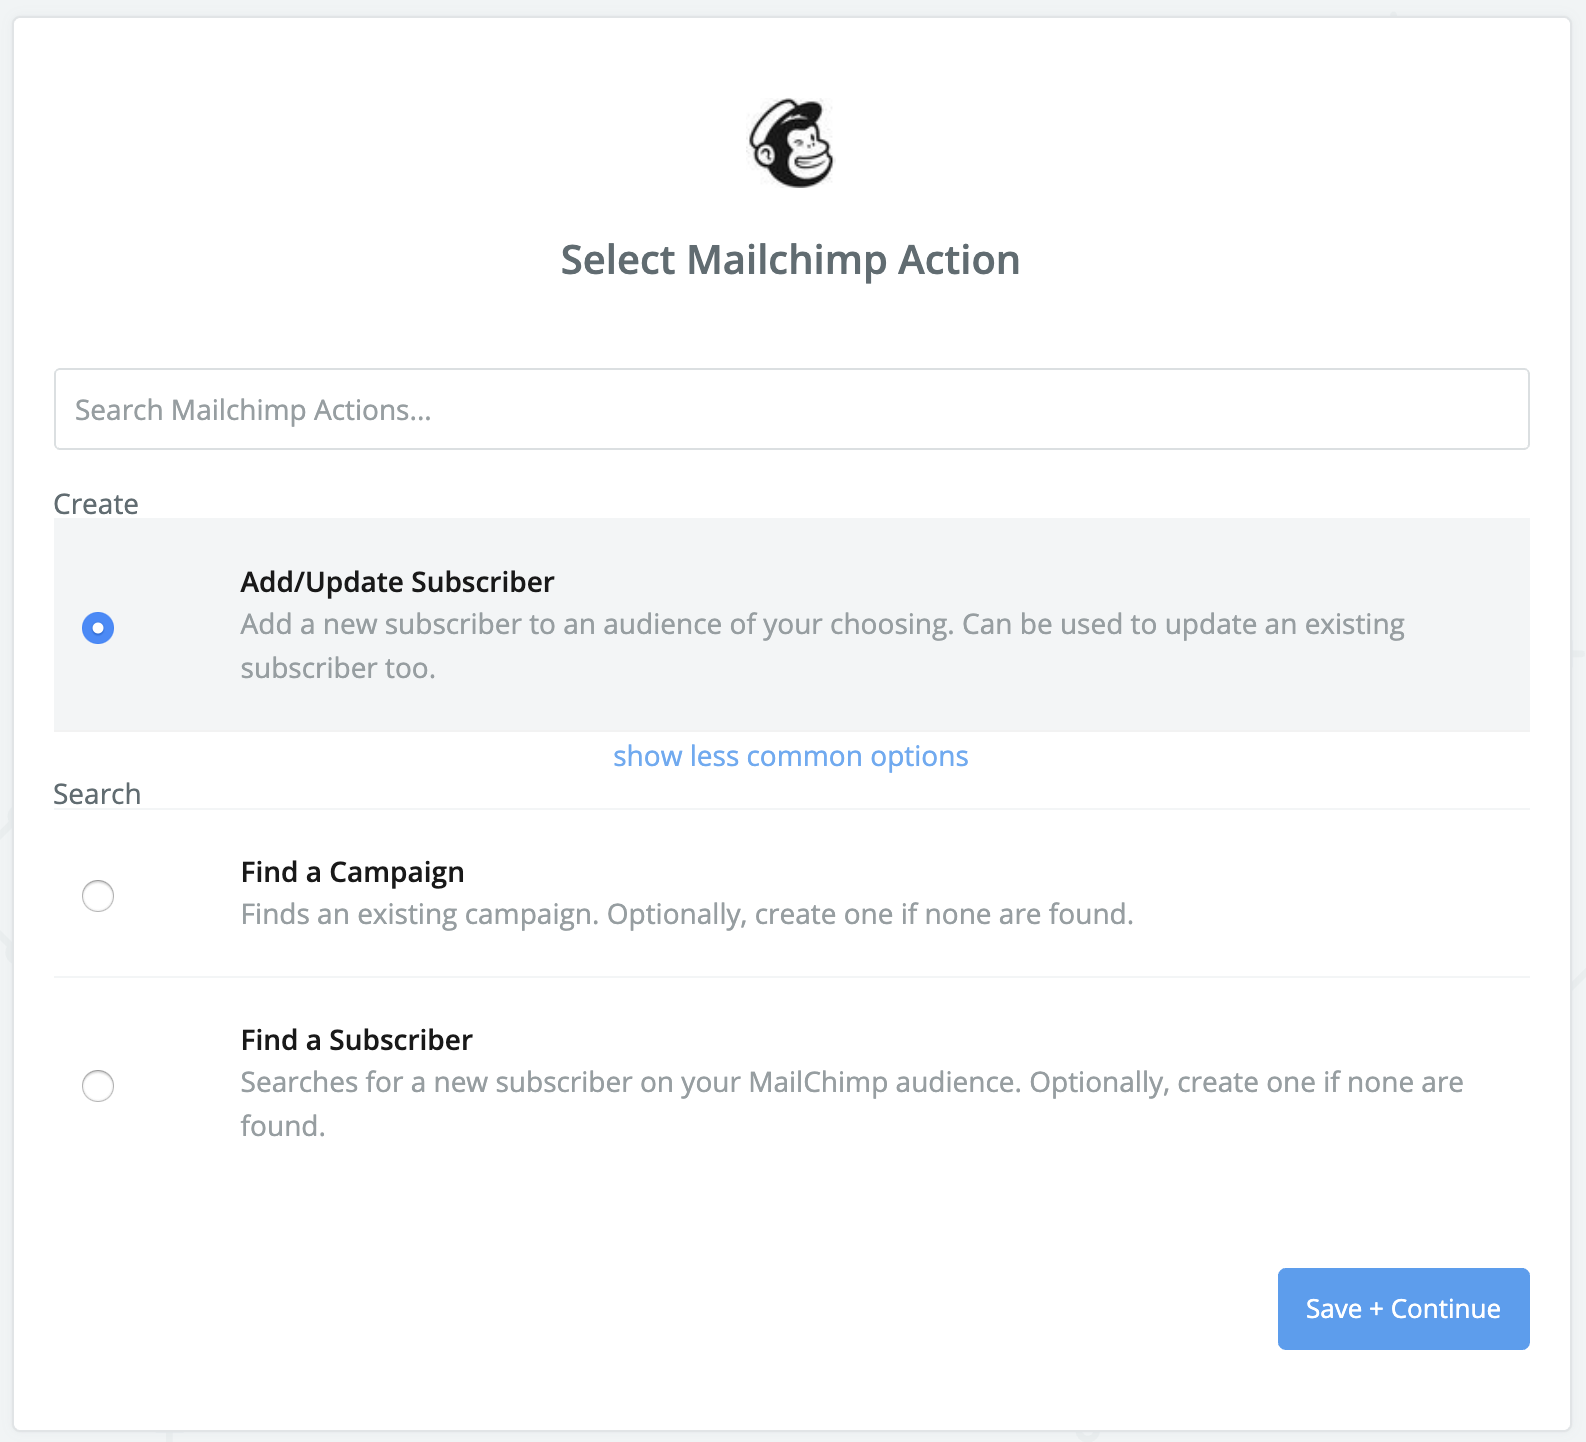
- The next step is to create an Action. Search for MailChimp in the search box and select it from the list.
- Choose the Add/Update Subscriber action.
- Next you will be asked to connect your MailChimp account (if it hasn't been connected before). Just follow the instruction presented on the screen.
- Now we have a chance to specify which mailing list we want to add clients to by choosing it in the Audience field.
- Then, you will link the Subscriber Email field to the Client Email field coming from IntakeQ.
- Finally, you will be able to test the zap and enable it at the end.
You will be given the option to test this step, but let's just click on Continue for the sake of this example.

Triggers and Actions
We currently offer 3 triggers and 2 actions:
- New Form Submission (trigger): This trigger is fired every time a client submits a form, or when you manually change the status of a form from Pending to Completed.
- New Client Created (trigger): Every time a client is created in your IntakeQ account, be it via appointments, forms, or manually, this trigger is fired.
- New Appointment (trigger): Triggered every time an appointment is created, either via the booking widget or via your calendar. You can use the BookedByClient field in conjunction with Zapier filters in case you only want this trigger to be fired when a client books an appointment via the booking widget.
- Send Form (action): Allows you to send an IntakeQ form when another app triggers an event.
- Save Client (action): Allows you to create or update an IntakeQ client when another app triggers an event.