Add Tags to Clients via the Appointment Dialog
When you manually schedule appointments in PracticeQ, there is an easy way to quickly add tags to a client without opening their profile.
- Click Bookings.
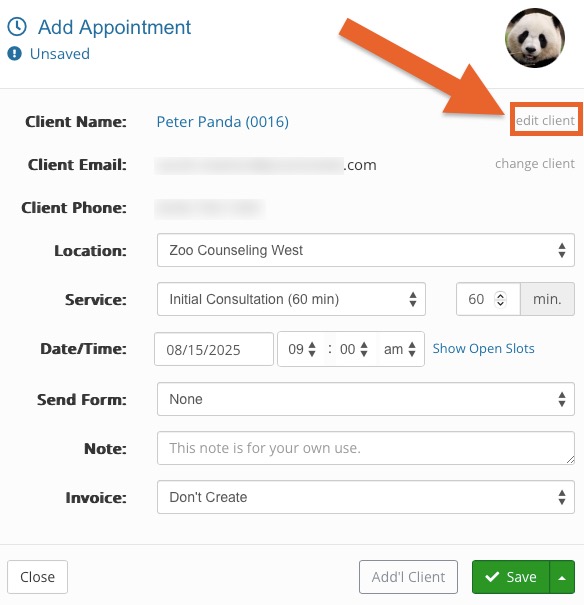
- Create the appointment for the client.
- In the appointment dialog, click edit client.
- In the next window, click the plus sign next to Client Tags on the lower left.
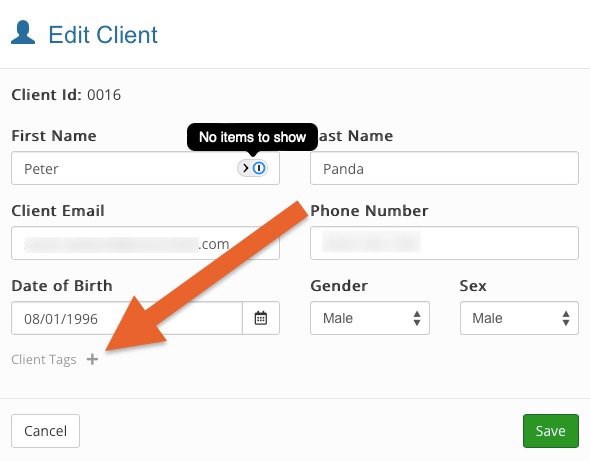
- Type the name of the tag you wish to add.
- Select the tag from the list that populates.
- The tag will appear under the Client Tags heading.
- Repeat to add more tags, if needed.
- Click Save.
No results found
.png)

