.png)
Billing Information Settings
This guide offers a straightforward approach to managing your billing information through the PracticeQ platform. It simplifies the process, making it easy for users to navigate and update their billing details efficiently. Follow this guide to ensure your individual and group information is current, which is essential for seamless service continuity.
Individual Billing Information Settings
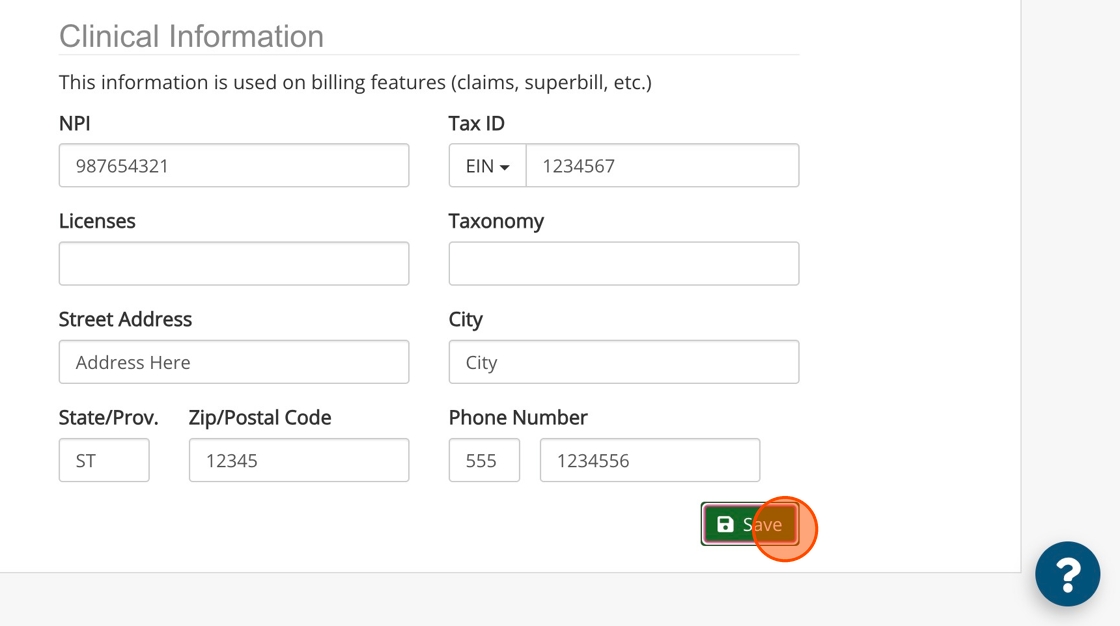
Note: Ensure that each practitioner who wants to bill under their own name has their personal clinical information listed under their settings.
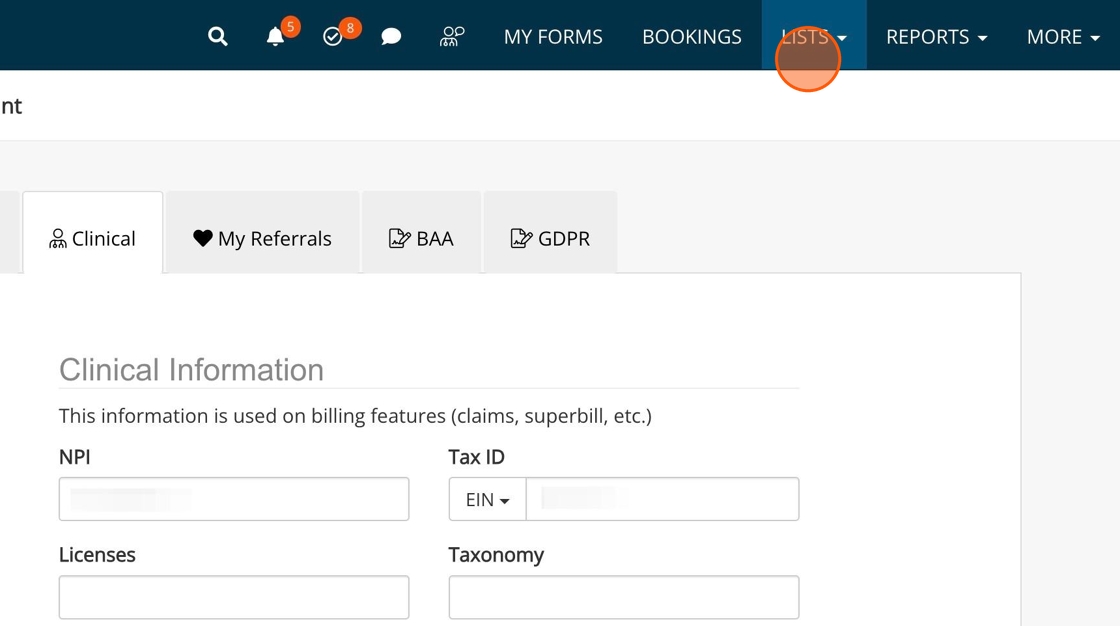
1. Click More.
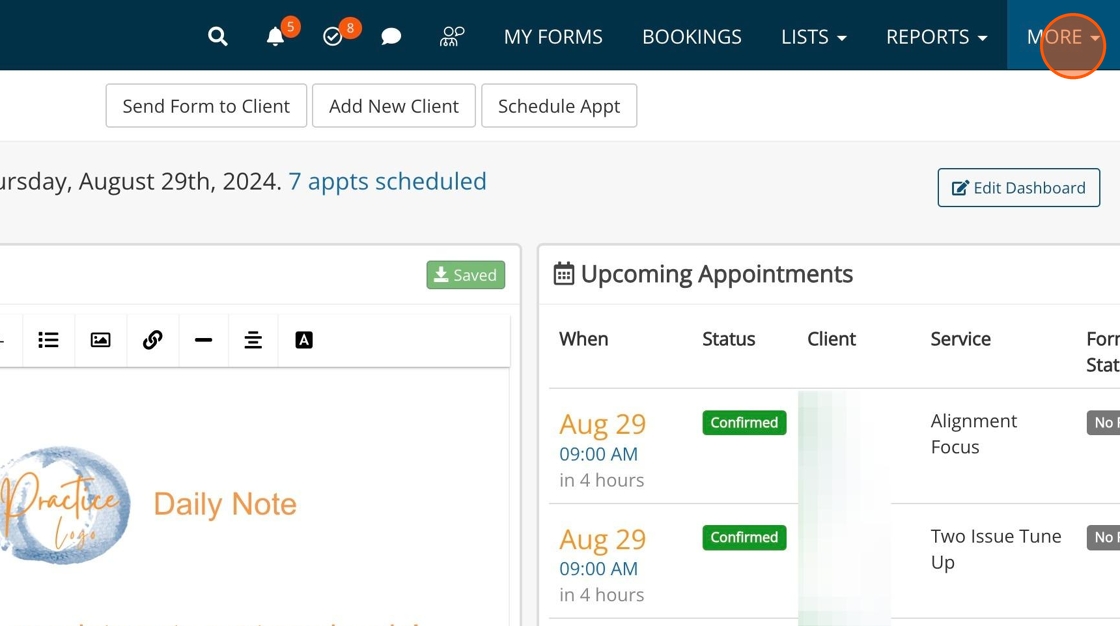
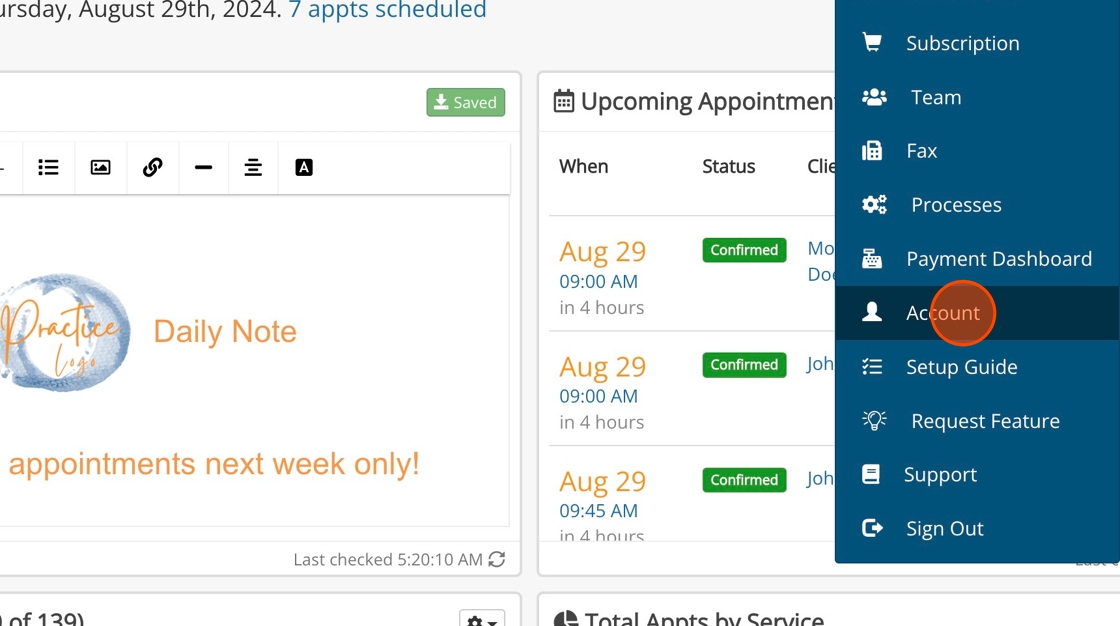
2. Select Account from the dropdown menu.
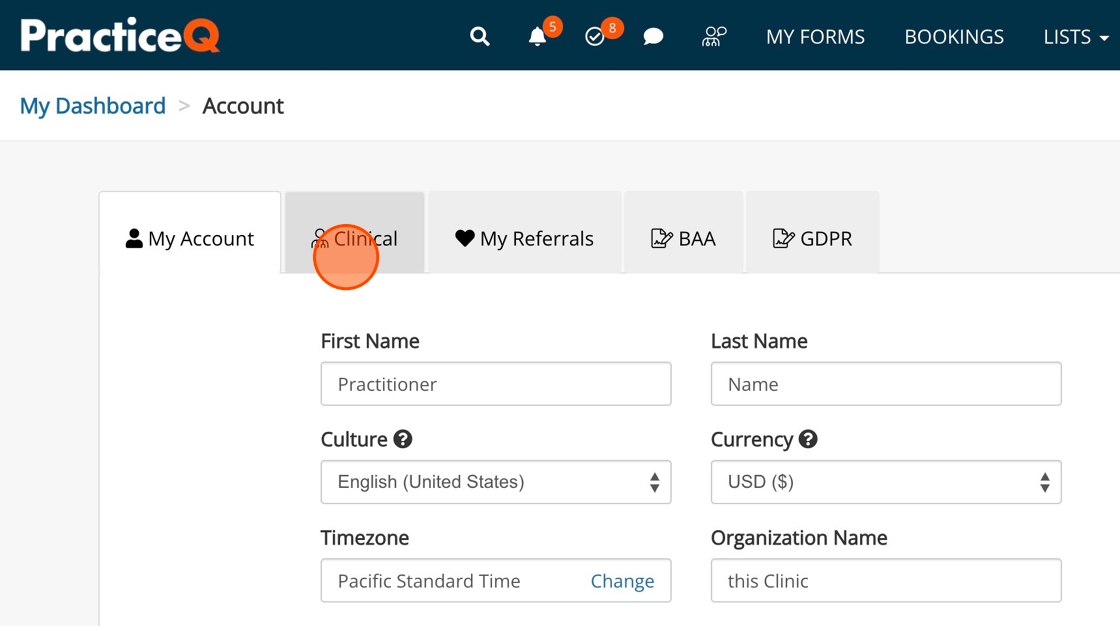
3. Select the Clinical tab.
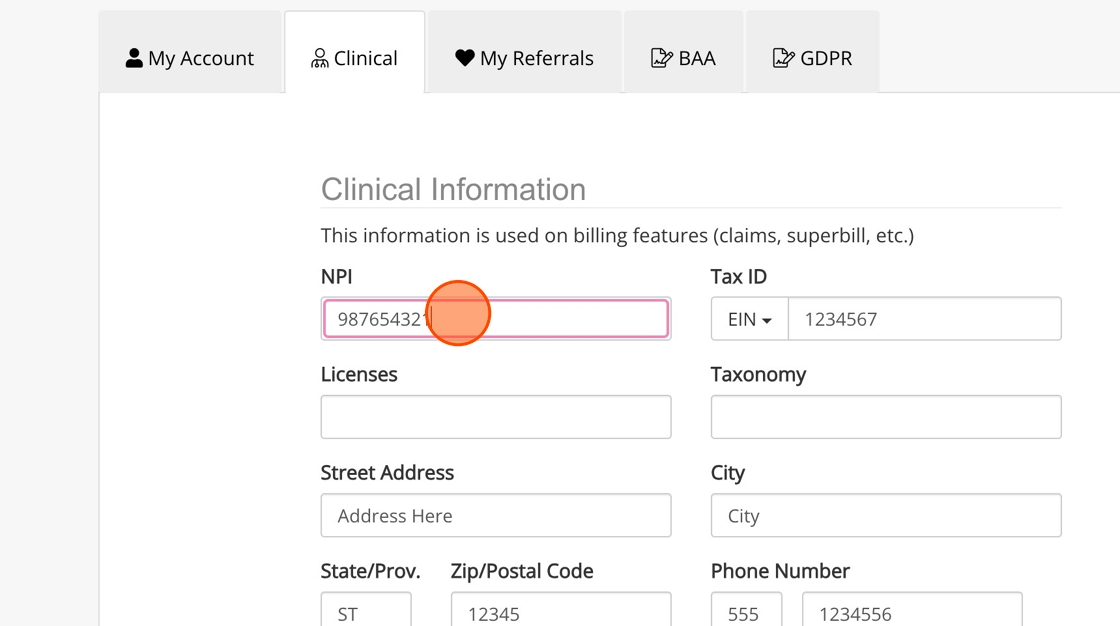
4. Complete each field with the relevant individual billing information ( NPI, Tax ID, Licenses, Taxonomy and address information).
5. Click Save anytime you update your information here.
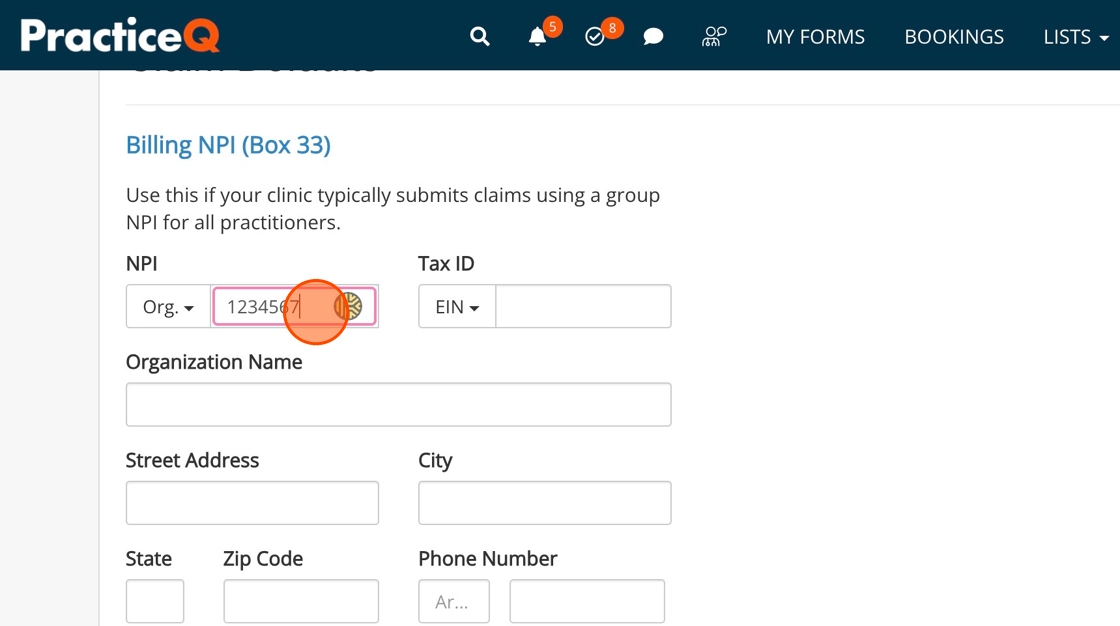
Group Billing Information Settings
IMPORTANT: Group billing information is for those who bill under an organization NPI for all practitioners.
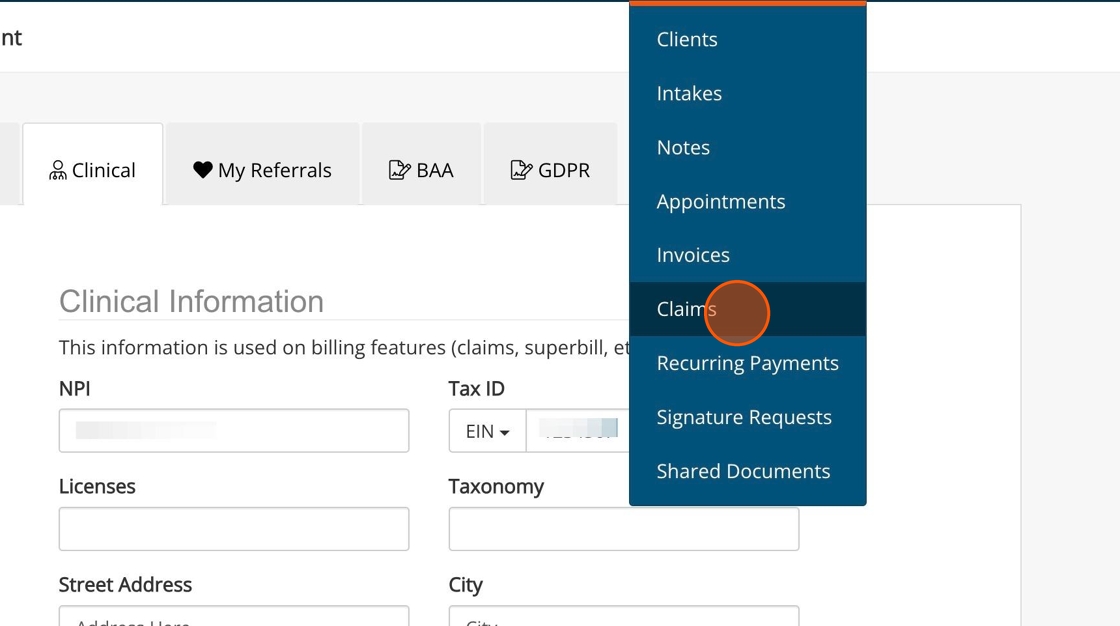
1. Click Lists.
2. Select Claims from the dropdown menu.
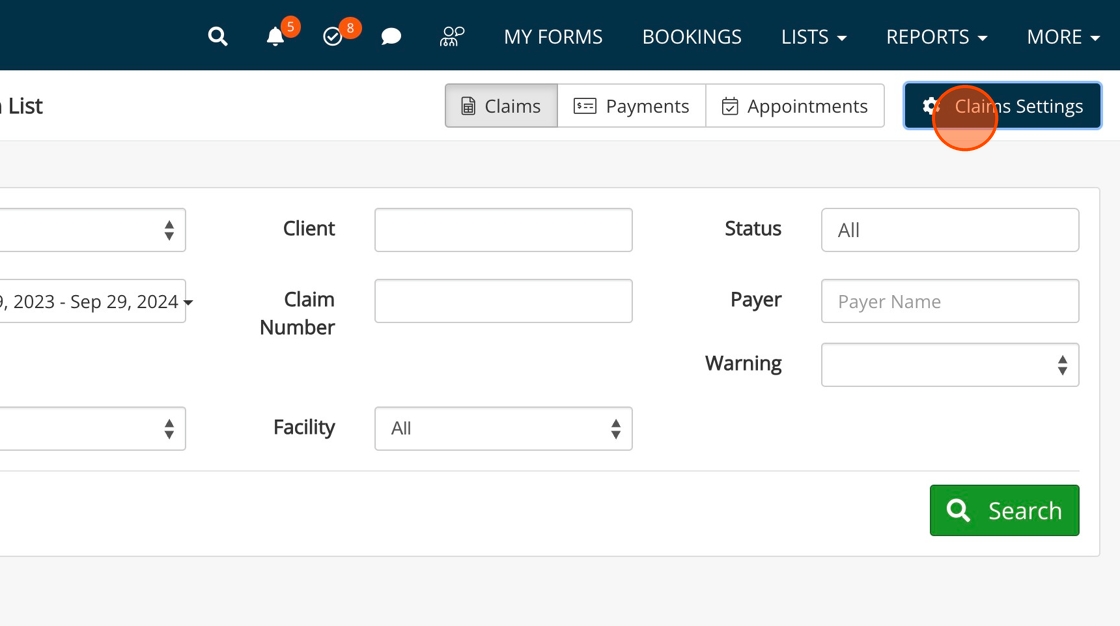
3. Click Claims Settings.
4. In the Defaults tab, complete your organization's billing information, including Organization Name, NPI and Tax ID. Additionally, you can enable Box 29 or list a different Pay To Address than your billing address.
5. If you have more than one facility, select one as the default using the Default Billing Facility dropdown menu.
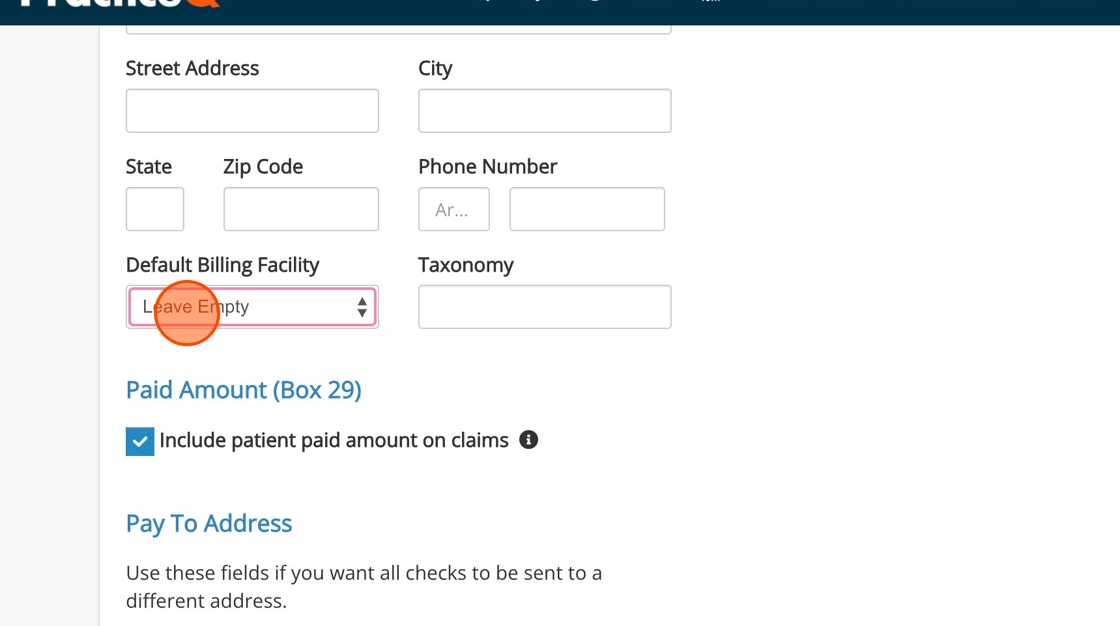
6. Click Save Changes to ensure your updated information is saved by the system for your future claims and superbills.
