.png)
Manage Client Tags
If you have created client tags, here is how to view, add, edit, and remove them.
Watch the video or follow the steps below.
View Tags
- Client Tags will display in the following places by default:
- Lists → Clients
- The top of the client's profile
- The appointment dialog for scheduled appointments
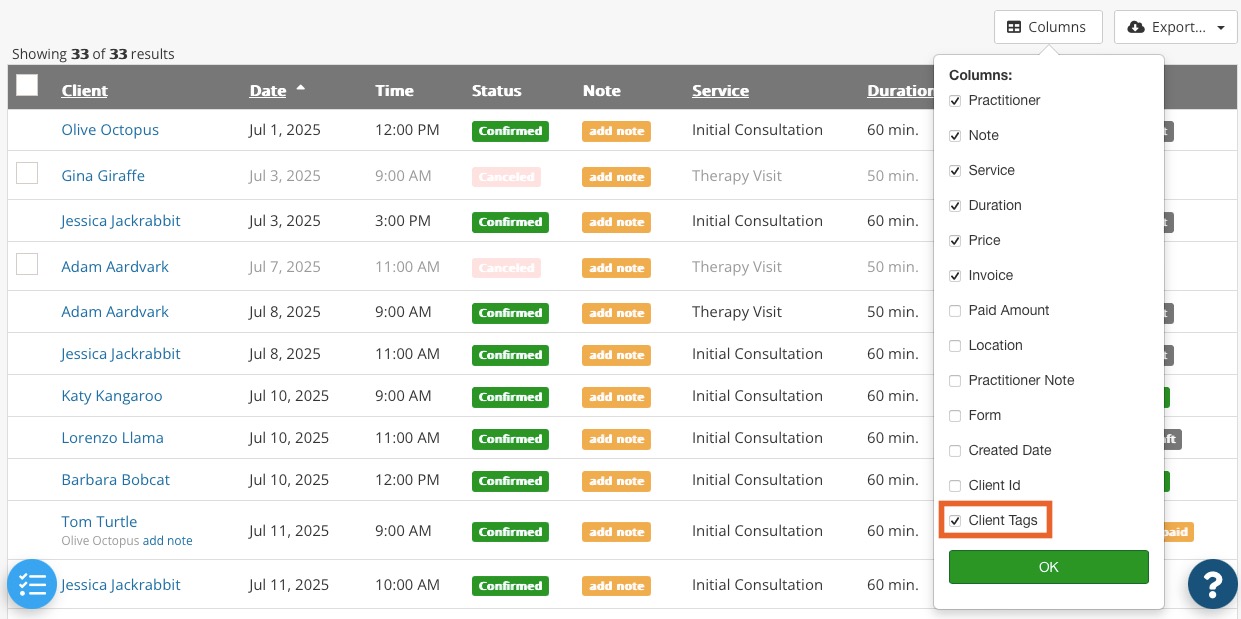
- If you wish to see Client Tags in other lists, such as Lists → Appointments, click the Columns button. Check the box labeled Client Tags, then click OK.

Manage Tags
- Click Lists → Clients → Profile Settings.
- Select the Client Tags tab.
- Click the Edit button next to a tag to change its name and/or color.
- Click the Remove button next to a tag to remove it from the system.
Note: Editing a tag will apply the changes to all clients and deleting a tag will remove it from all clients.
