Need help setting up your booking widget? We're here to help!
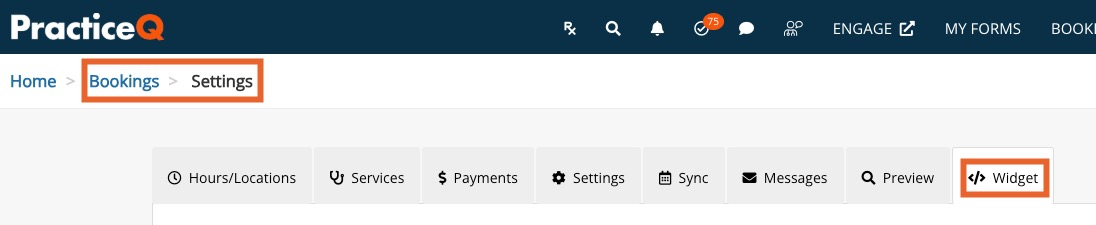
Click Bookings → Booking Settings.
Select the Widget tab.
The sections you see will provide you with the tools you need to add the booking widget to your website.
How to use it on your website
This section is for practices that use javascript on their websites. If your website does not allow javascript, or if you do not not work with javascript, you can skip this section.
Your website doesn't allow custom javascript? Use a button instead
If your practice edits your website via html, enter the code provided here.
This will place the blue and white BOOK NOW button displayed on your website.
Don't have a website?
This section is great even if your practice DOES have a website! Simply copy and paste the provided URL in your website editor.
Doing this allows you to easily place the booking widget link behind a button on your website.
It's also simply a great way to access your booking widget URL for quick sharing with your clients.
Customize your mini-website
This is where you can customize the header that displays in your booking widget. It's a great opportunity to incorporate your practice branding.
.png)