.png)
Client Experience in the Booking Widget
See what your clients see in your online booking widget!
- First, your client accesses your booking widget via a shared link or your website.
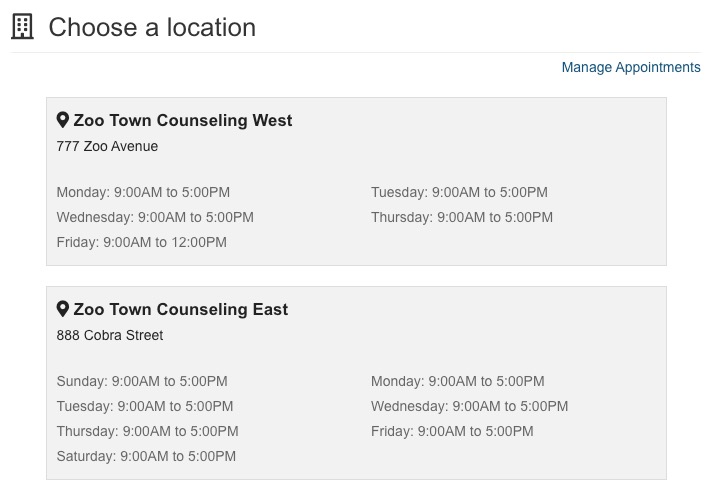
- If you have multiple locations available on your widget, they must choose one.
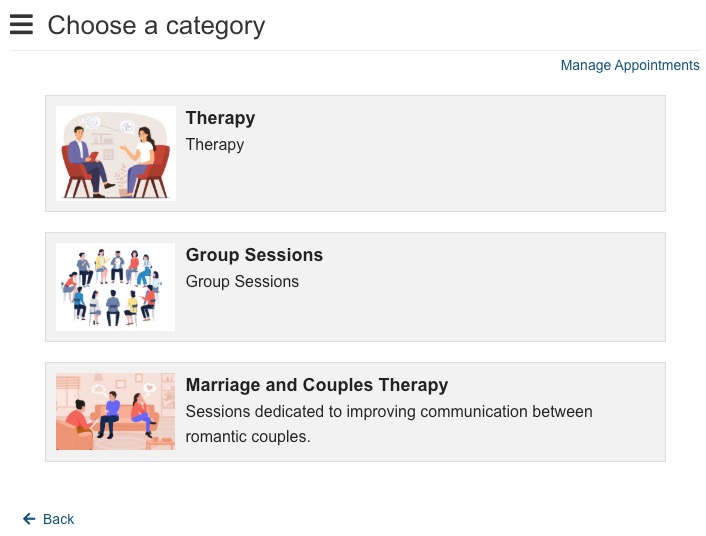
- If you have your services organized into categories, the client will select the appropriate one.
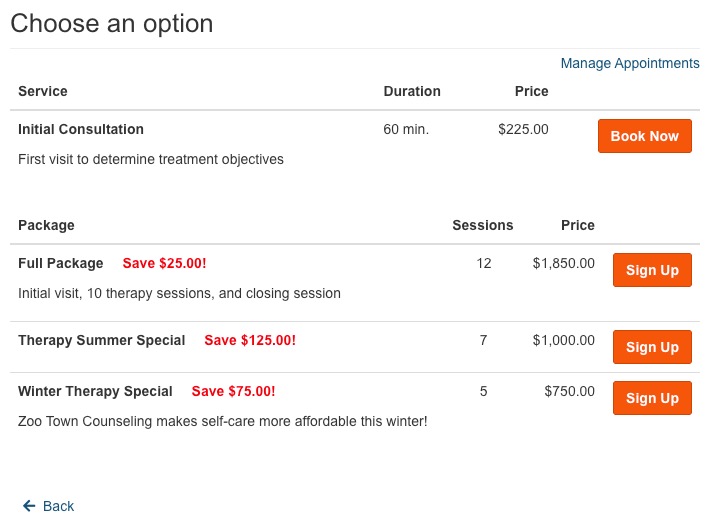
- Next, they will select the service they wish to book.
- If you offer appointment packages, they will display in red.
- Appointment duration and price will display by default, but you can choose to hide them in Bookings → Booking Settings → Service → Basic Info if you wish.
- Once the client clicks Book Now, they will select a date and then select an available time slot.
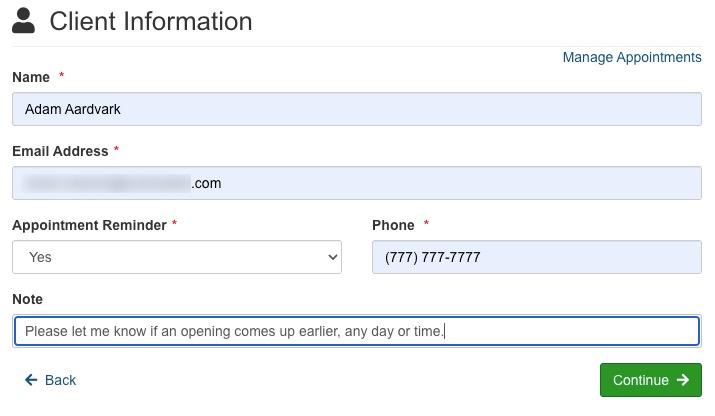
- On the next Client Information page, the client will enter:
- Name
- Email Address
- Appointment Reminder preference - Yes or No
- Phone Number
- Note (this is optional)
- The client will then click Continue.
- On the Please confirm your request page, the client can click to open and read the Terms of Service.
- The client must click I have read and agree to the Terms of Service to continue.
- The client then clicks Confirm Request.
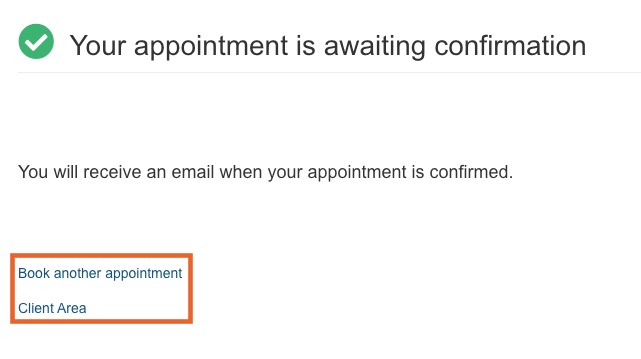
- The final page notifies the client that they will receive an email once their request has been confirmed by your practice. This page includes links to access their information and to manage their bookings.


Note: If you wish to customize the message that appears when there are no time slots available for the client's selected date, contact us at hello@intakeq.com!

Note: If you wish to customize the message that displays in this step, contact us at hello@intakeq.com!

