Enable Client Portal Self Registration
If you use PracticeQ's secure client portal, you can allow your clients to self register instead of sending them an invitation.
Enable Self Registration
- From the home page, click the speech bubble icon.
- Click the Settings button on the top right.
- Select the Registration tab.
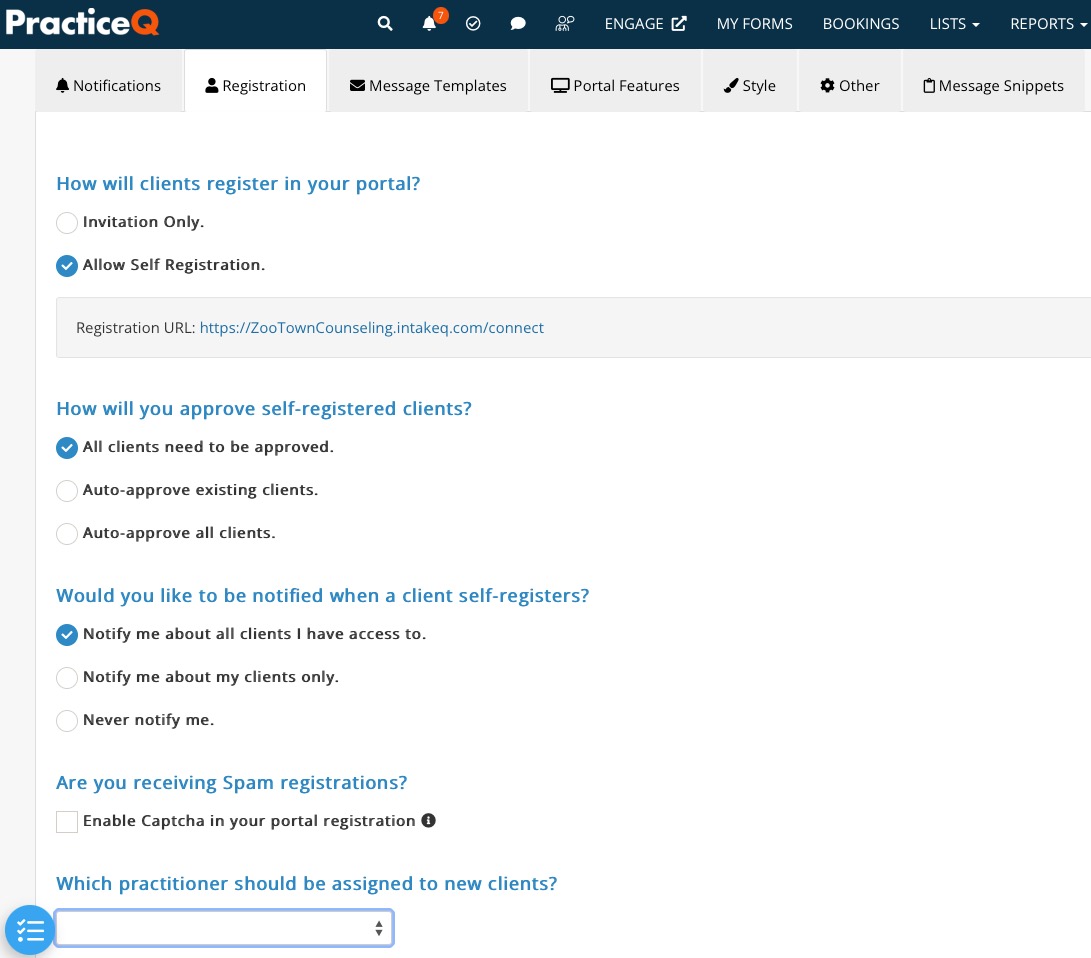
- For the question How will clients register in your portal? select the option Allow Self Registration.
- A Registration URL will display that you can add to your website. If you have not yet customized your URL, read the following article: Vanity URLs.
- More options will display:
- How will you approve self-registered clients? Choose to manually approve all registrations, or for PracticeQ to auto-approve certain groups.
- Would you like to be notified when a client self-registers? Select when you want to be notified, and for whom.
- Are you receiving Spam registrations? If you check this option, PracticeQ will include Captcha in self-registrations to filter out Spam bots.
- Which practitioner should be assigned to new clients? Select a default practitioner for self-registered clients.
- Click Save.
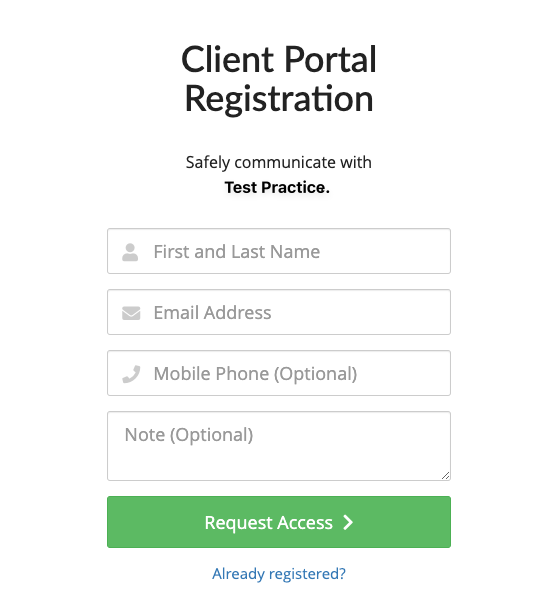
Client View
- When a client receives a self registration link, they will be asked for:
- First and Last Name
- Email
- Mobile Phone
- The client can also add Notes as needed. These notes will be visible to the practitioner.
- When they click Request Access, the registration will be sent to the practice.
No results found
.png)

