.png)
Native PDF Consent Forms
PracticeQ offers a consent form option that allows you to maintain the exact layout of your existing PDF document. You simply upload your PDF file and drag and drop fields and signatures onto it.
Note: Native PDF consent forms require that you add a signature. If you do not add one, your clients will not be able to submit the form/package.
The animation below shows how easy it is to upload your PDF and prepare the template by placing the fields in their respective spots.

The following is what your clients see on their end when they are filling out this type of form.

When to Use the Native PDF Format:
- When you want to keep the exact layout of your original PDF document.
- When you don't want to spend time adjusting the layout of the document.
When Not to Use the Native PDF Format:
- When you want to insert a credit card form (from PracticeQ Payments/Stripe/Square) in your consent form.
- When you want to be able to quickly edit the form inside PracticeQ without having to edit the original PDF.
- When you need to use radio buttons in the consent form.
- When you need to map data fields back to the client profile.
Note: If Native PDF Format does not suit your needs, see what Rich Text Consent Forms have to offer.
Create a Consent Form Using the Native PDF Format
- Click My Forms and scroll down to the Consent Forms section.
- Click Create New.
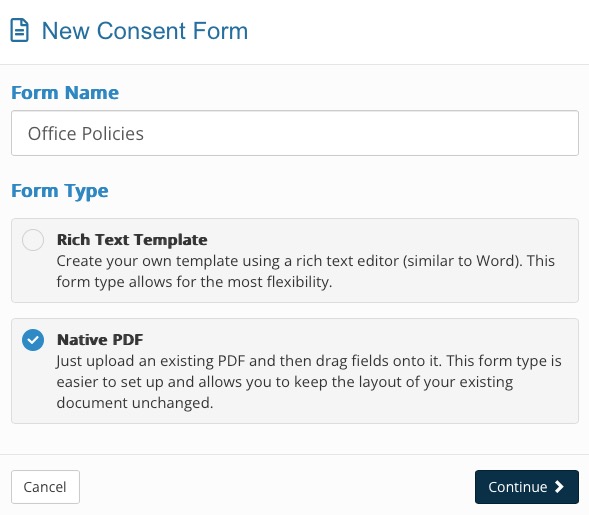
- Enter the Form Name.
- Select the Native PDF option.
- Click Continue.
- Drag and drop your PDF into the dotted box or click the dotted box to select the file from your device.
- Click the tools from the Fields menu the left to add them to your PDF:
- Signature: Lengthen the field after placing it on the document to provide more space.
- Initials: Add this feature in as many places as you wish.
- Textbox: Use this to add additional text, if needed.
- Date Signed: This will automatically populate the date the client signs the consent form.
- Checkbox: Add as many checkboxes as needed.
- Date Picker: This allows the client to choose the date signed.
- Staff Prefill: Add this field if the consent form requires a staff member to enter information prior to sending the consent form.
- Mapped Label: This option is described below.
- Drawing Canvas: Use this if you want "force" your client to draw their signature instead of typing it.
- Click Save.

Just as with classic consent forms, you can add native PDF consent forms to your intake packages, or send them individually. You can also mix both types of consent forms in your intake package.

Add Mapped Labels
Add Mapped Labels to your Native PDF consent form to populate specific information from a client's profile on the form, such as their date of birth, gender, or phone number.
- Find the Mapped Label option in the Fields menu.
- Click and drag it into place and then click the gear wheel icon.
- Open the Profile Mapping dropdown menu and select the information to be pulled into the form.
- Click Save.
