.png)
Booking Settings for Practitioners on a Team
PracticeQ allows multiple practitioners within a team account, allowing for separate calendars, client lists, form templates, and services for each practitioner. Practitioners can also control their individual booking settings, allowing them to override account defaults.
Jump to a Section
Set Individual Practitioner Hours
As a non-admin practitioner, you have the ability to set your own hours for each location on the account. The booking system will use your hours as opposed to the default hours for each location. To adjust your hours, follow the steps below:
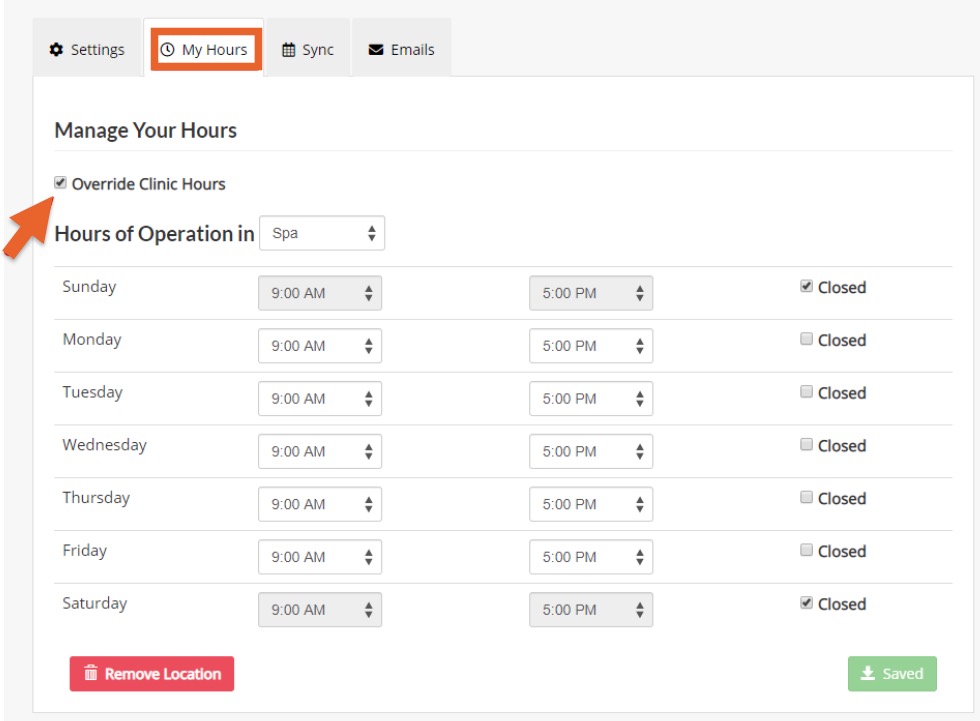
- Click Bookings → Booking Settings and select the My Hours tab.
- Check the box labeled Override Clinic Hours, and select the location for which you want to adjust the hours.
- Set your own specific hours that will override the default clinic hours.

Adjust Individual Practitioner Settings
Each practitioner on a team can adjust their booking settings, such as the time interval between appointments, appointment lead time, and appointment confirmation method. To adjust these settings, follow the steps below:
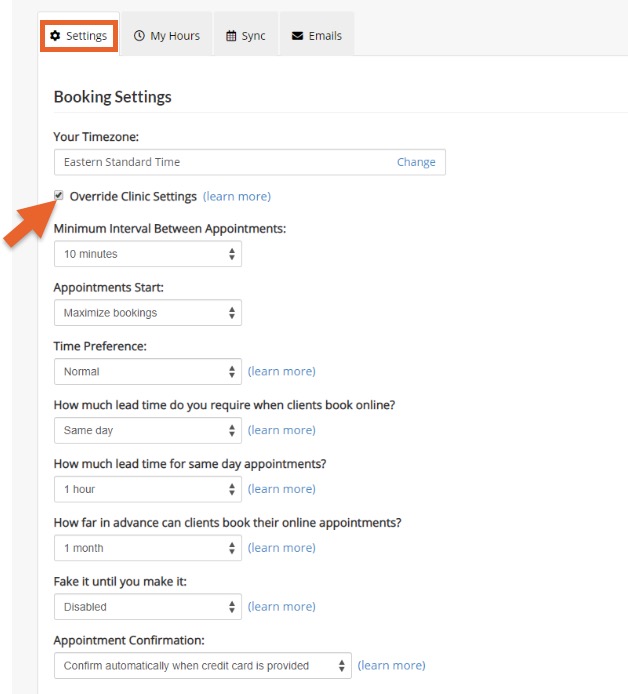
- Click Bookings → Booking Settings and select the Settings tab.
- Check the box labeled Override Clinic Settings. Note: You may adjust your personal timezone as well.
- Adjust all the booking settings you wish. Your settings will override the default settings of the clinic.
- Click Save.

Customize Individual Practitioner Emails
Each practitioner on a team can adjust the various email templates that are used for appointment confirmations, reminders, etc. To adjust these and override the default email templates, follow the steps below:
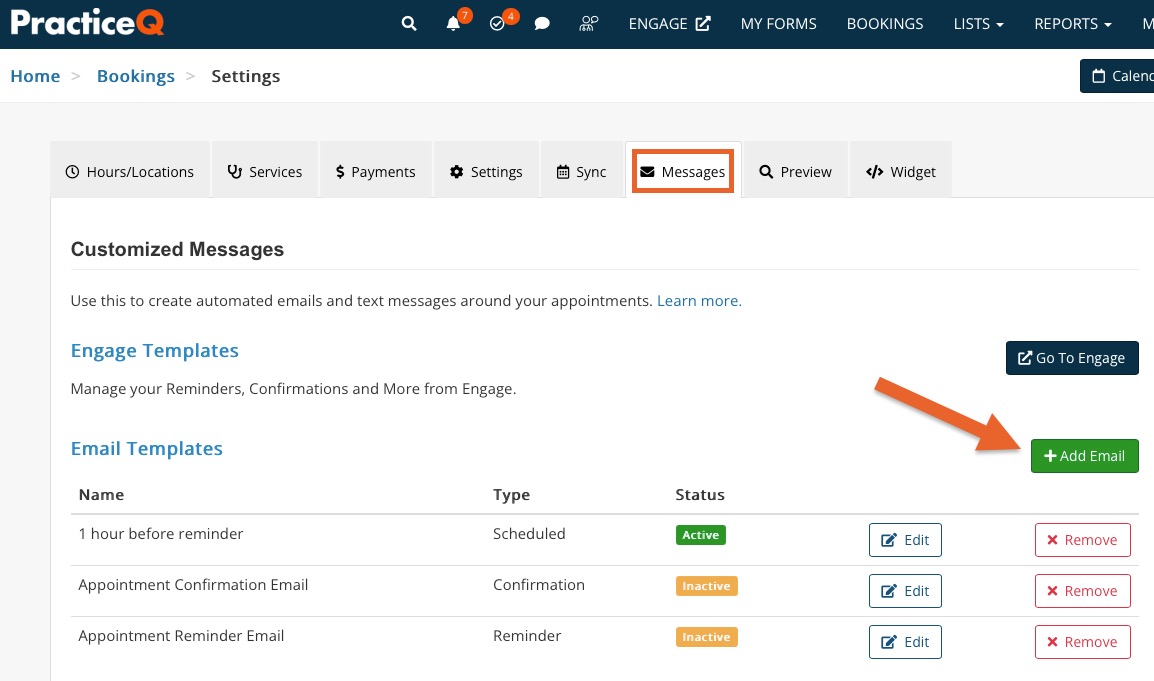
- Click Bookings → Booking Settings and select the Messaging tab.
- Click Add Email, and you will be presented with a list of email templates you can customize.
- For additional information on what these emails do and how to set them up, please see the following article: Automated Emails.
- You will also see a button labeled Go to Engage. In the Engage portal, you may create Patient Groups (with you as the Practitioner) and filter your messages by those patient groups.

Sync a Different Google/Outlook Calendar
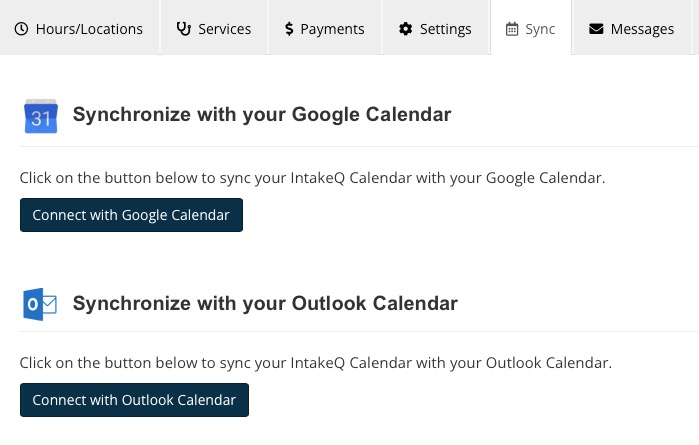
Each practitioner on a team can sync their own Google or Outlook calendar, which can be set to show up on the team calendar or the individual practitioner's calendar view. The steps below show where to go to sync your own calendar, separate from the calendar setup on the main booking settings:
- Click Bookings → Booking Settings and select the Sync tab.
- To sync a Google Calendar click Connect with Google Calendar.
- To sync an Outlook Calendar click Connect with Outlook Calendar.
- For each, you will be prompted to sign in to your Google/Outlook account and follow the steps to complete the sync.

Payment Providers and Practitioners
Please read the following article before using multiple payment providers within one PracticeQ account: Using Multiple Payment Providers
If permitted by the account administrator, each practitioner has the ability to use their own PracticeQ Payments/Stripe/Square account. This allows each practitioner to process payments for their clients that go straight into their bank account, as opposed to the entire team sharing one provider. This option is not enabled by default; follow the steps below to enable it for specific user roles on your team.
Adjust the User Role Settings
- As the account admin, click Team → Roles and select Edit for the role for which you wish to change the Payment Provider. Note: You may also create custom user roles; for additional information, see the following article: Set User Permissions.
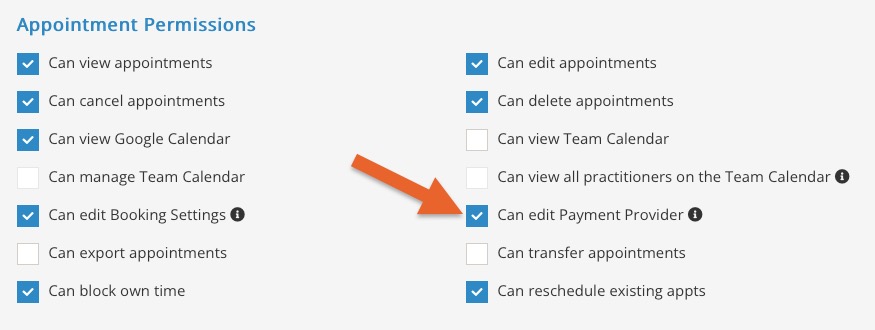
- In the user role permissions dialog, scroll to the section titled Appointment Permissions.
- Check the box labeled Can edit Payment Provider.

Use a Different Payment Provider
After allowing the permission above, you will gain access to a new tab in the booking settings for additional practitioners. Follow the steps below to set up a different payment provider to be used instead of the one set up on the main admin account.
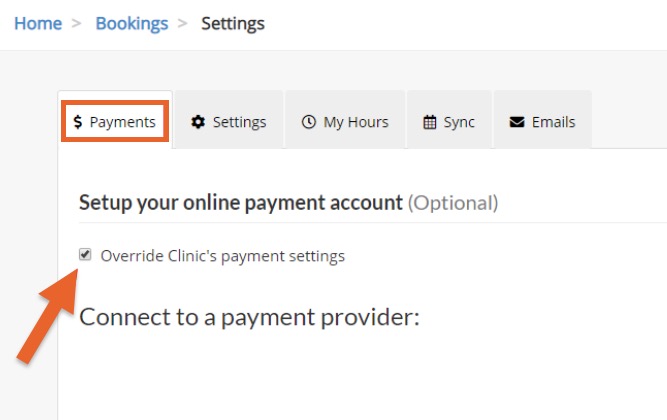
- Click Bookings → Booking Settings and select the Payments tab.
- Check the box labeled Override Clinic's payment settings.
- You will be shown Payment Provider options. Click your choice to proceed with the connection process.