If a client asks to be notified when an earlier appointment opens up, add them to the EasyFill Waitlist!
There are two ways to access your Waitlist:
Click the Waitlist button from your Booking calendar in PracticeQ.
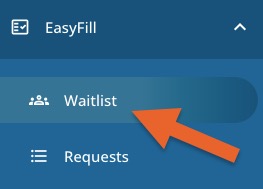
Click Engage from your PracticeQ toolbar, then click EasyFill → Waitlist.
You will see all clients you have already added to the Waitlist.
If a client on the Waitlist has a future appointment on the calendar, you will see the details under their Appt. Time, Appt. Provider, and Appt. Purpose of Visit(s) columns.
Remove a client from the Waitlist by clicking the trash can icon to the far right. You can re-add them at any time.
The ADD NOTES button allows you to add information pertinent to the client.
These notes will be displayed to the practice user when selecting clients to include in the EasyFill campaign.
Examples include Client prefers morning appointments or Client will only see Dr. Smith.
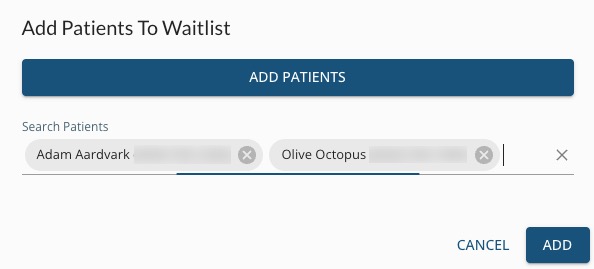
To add a client to the Waitlist, click the Add Patients button.
Search for the client by name. When they come up in the search, click their name. They will appear in gray below the search bar.
Add more clients if desired. When done, click ADD.
Engage will add all the selected clients to the Waitlist.
For more about Engage and how you can add it to your PracticeQ account, click here.
.png)