.png)
Engage - Set Up Your Appointment Reminders
Customize your appointment reminders and choose when they send to your patients.
Edit the Message Content:
- Click Engage from your PracticeQ toolbar.
- Click Templates → Appointments.
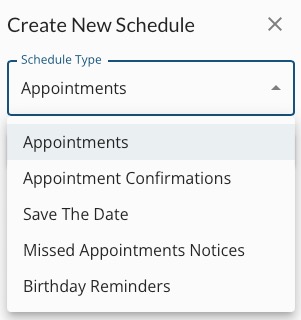
- If you need to add a new Appointment Reminder, click Create New Schedule, then select Appointments from the Schedule Types dropdown menu.
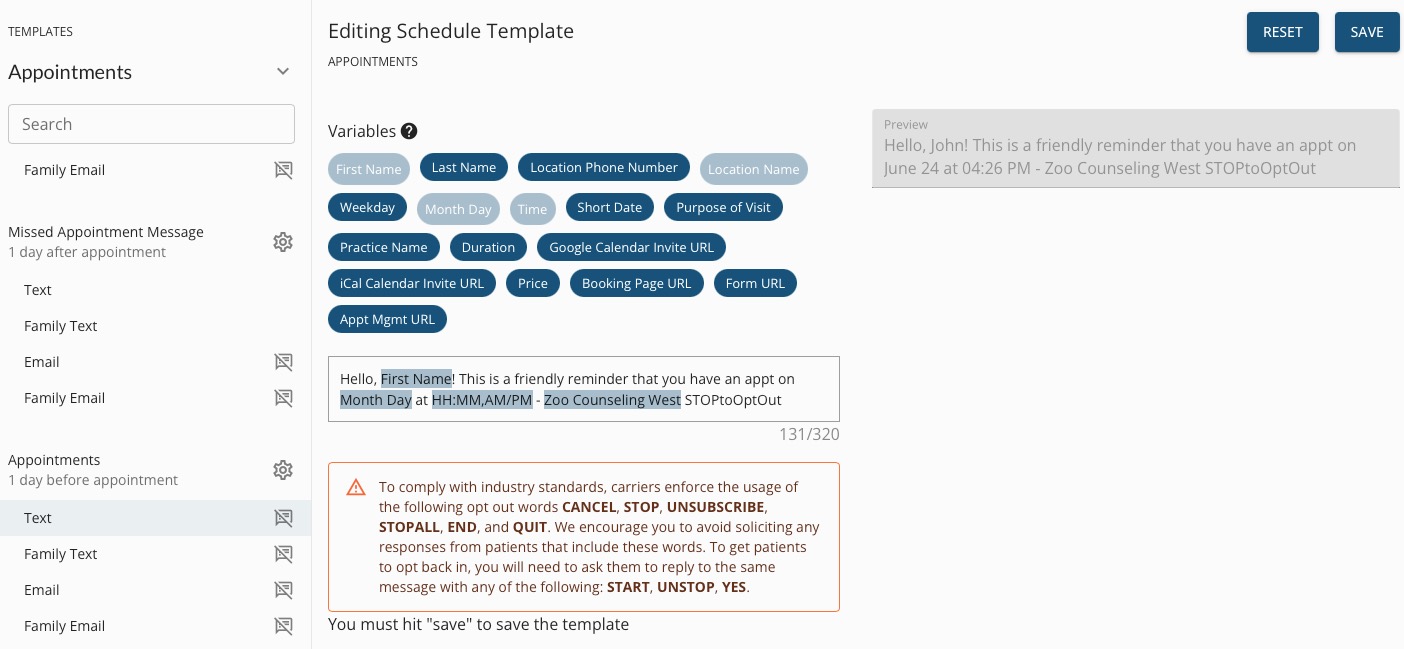
- Click on each message type (Text, Family Text, Email, or Family Email) to edit its content. We’ll choose Text here as an example.
- Place your cursor in the text box to edit the template.
- Click the blue Variables above the text box to add them to the template. The variables will personalize your message by pulling information from the client's profile in PracticeQ.
- A preview example will display on the right. Click SAVE when you are happy with your message. To return to the default message, click RESET.

Note: Do not remove the last part of the message that reads STOPtoOptOut. This verbiage is necessary to offer an opt-out option to your patients.
Set the Message Timing:
- Return to Templates → Appointments.
- Locate the message for which you wish to edit the timing.
- Click the gear wheel icon to the right of the message title.
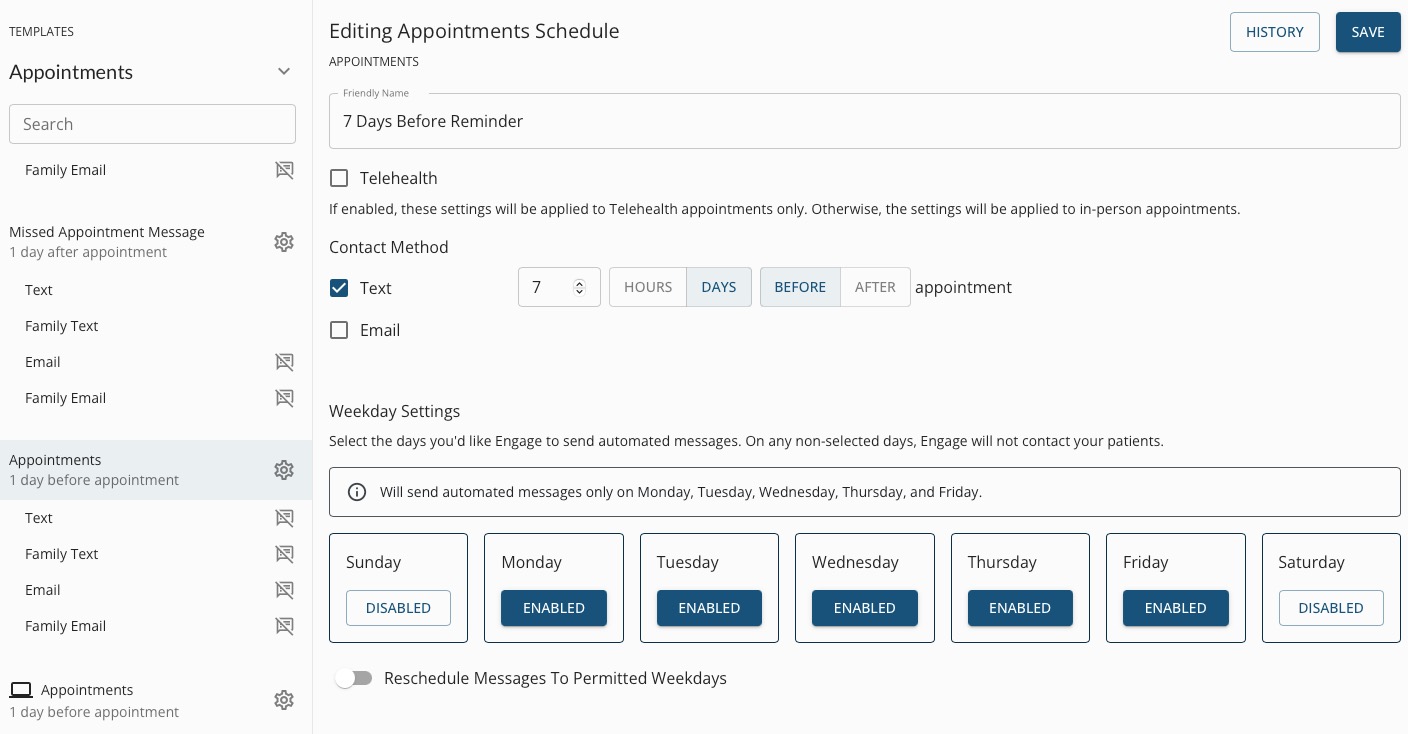
- Give the message a Friendly Name, if desired. For example, you may title it 7 Days Before Reminder.
- Check each Contact Method you wish to use. You can select Text, Email, or both.
- Select a number of days or hours.
- Select DAYS or HOURS.
- Select BEFORE or AFTER to indicate if the reminder should go out before or after the appointment.
- Under Weekday Settings, click the Enabled button under any day of the week you do NOT wish for this message to send, such as Saturdays and/or Sundays. The label under the selected days will change to Disabled.
IMPORTANT:
- Do not forget to perform these actions for each message type you want to customize and for each of your practice locations.
-
For more about Engage and how you can add it to your PracticeQ account, click here.